> For the complete documentation index, see [llms.txt](https://docs.material.security/llms.txt). Markdown versions of documentation pages are available by appending `.md` to page URLs; this page is available as [Markdown](https://docs.material.security/getting-started/deployment-guides/your-first-30-days/7-enable-file-security.md).

# 8: Enable File Security

**File Data Security** secures sensitive files synced from Google Drive. It detects files with improper sharing and excessive permissions, external applications with excessive file access, and orphaned file sharing from offboarded accounts, then allows you to take action right from Material.

File detections are enabled immediately and start identifying potential issues right after you connect your tenants, **but you're not yet responding (remediating).** Follow the steps in this guide to configure response and enable remediation.

## Review File Detections

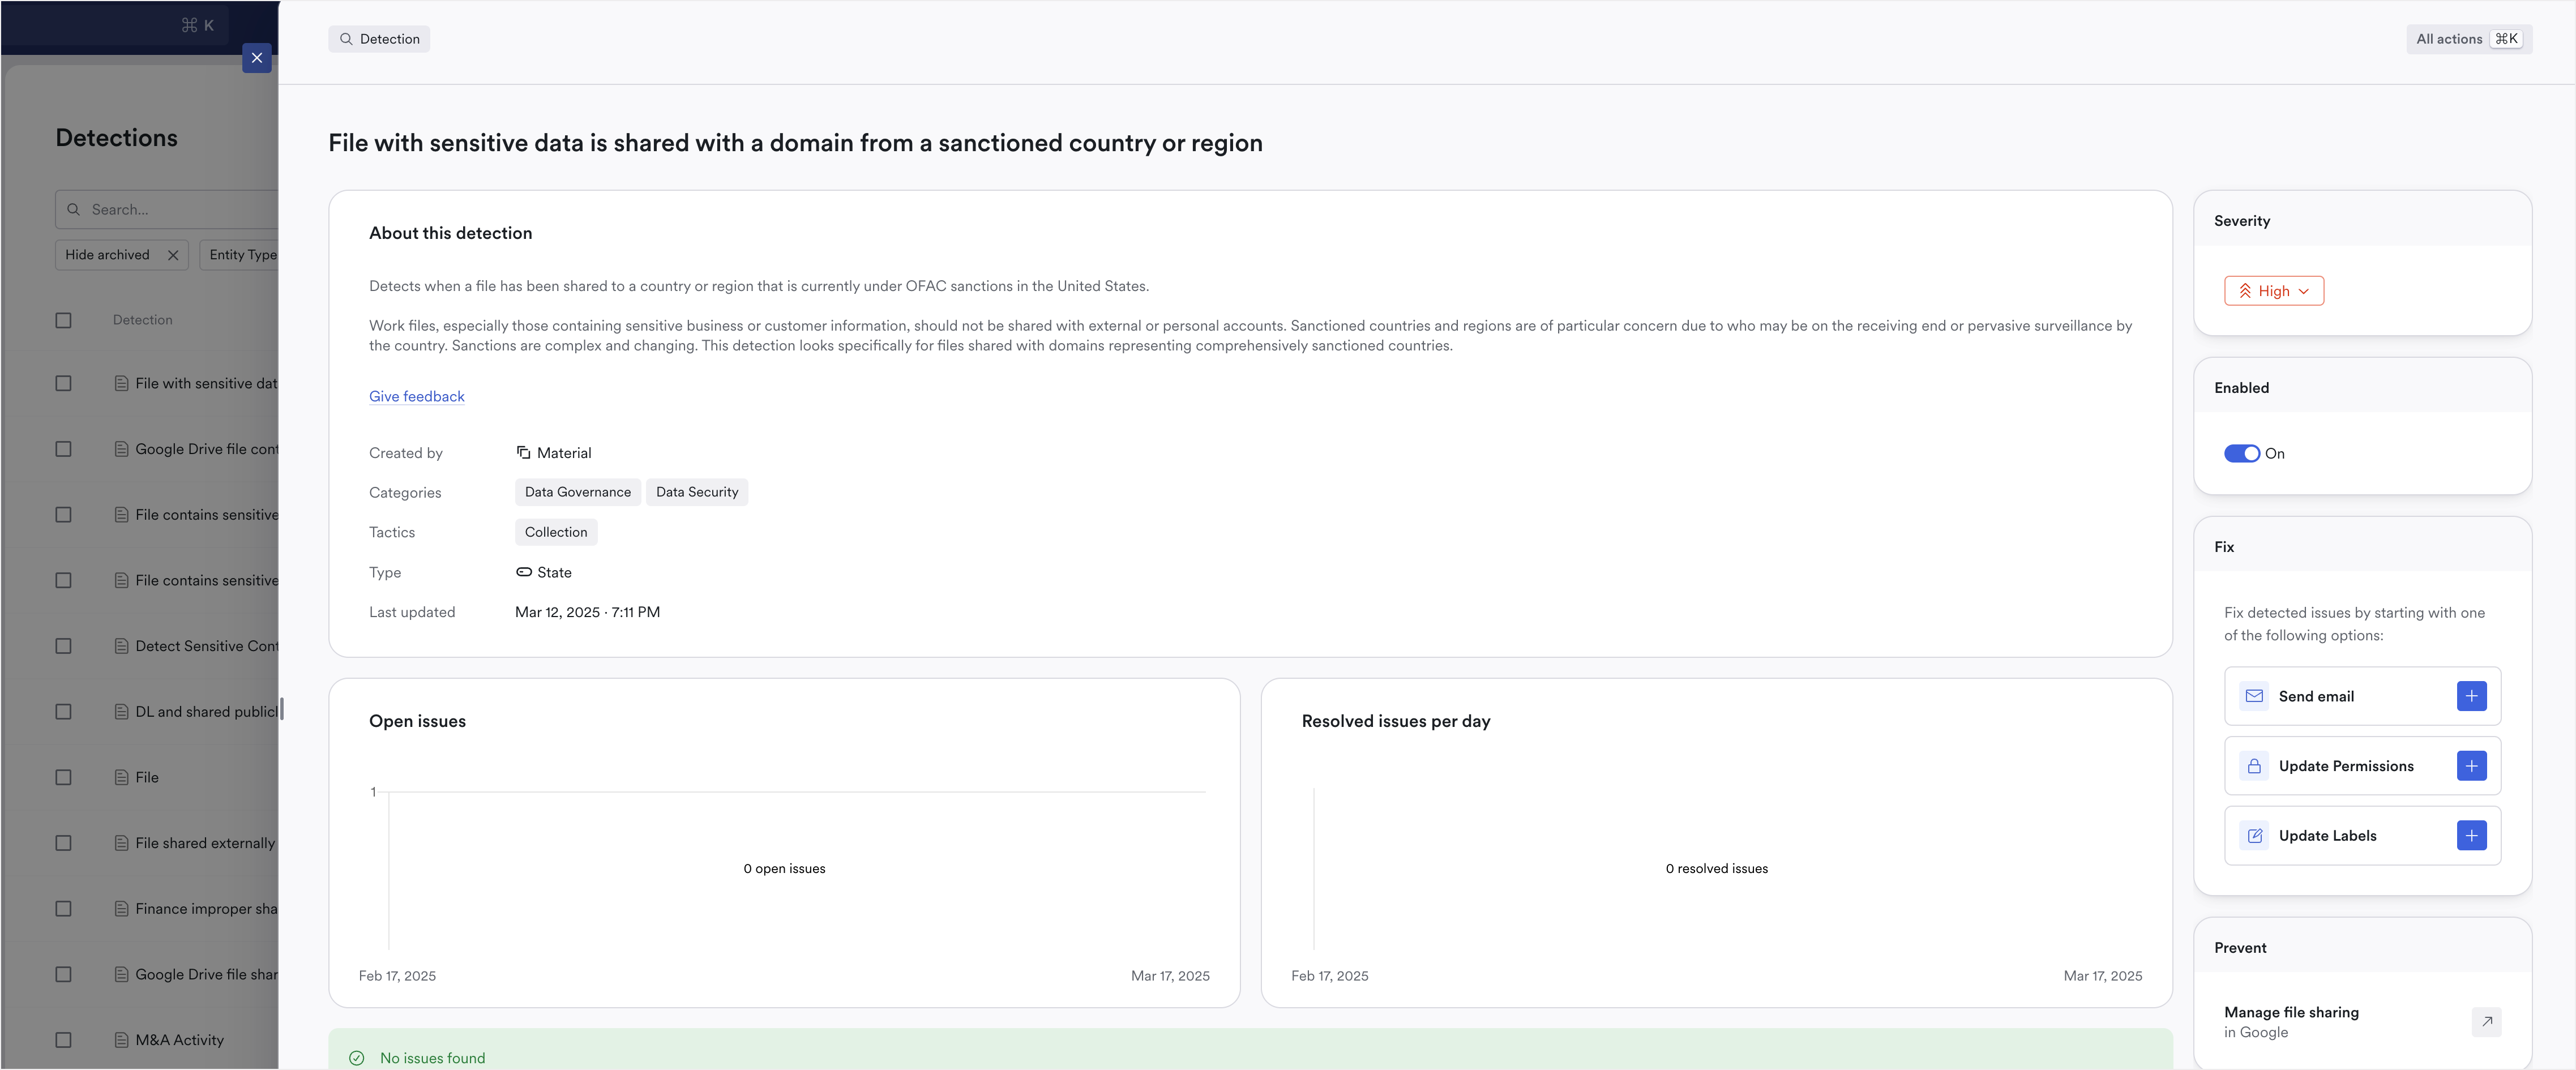
First, familiarize yourself with file-specific detections:

1. From the left navigation, click **Detections.**
2. Click **Filters**, then select **Entity Type**, then **File**.
3. Browse the existing detections, then update your preferred default **Severity** as needed.

<figure><img src="/files/UtBrtqfeUtMVyX1EczcP" alt="Detection detail view is a slide out that appears after clicking the detection name"><figcaption><p>Detection detail view</p></figcaption></figure>

## Enable Shared Drive Syncing

To send responses to **Shared Drive Admins**, shared drive syncing needs to be enabled. To confirm this:

1. From **Settings**, click **Google Drive.**
2. Toggle **Shared Drive Syncing** to **On**.

   <figure><img src="/files/Hm2m9Gq3nFUWgnsoQmfW" alt="" width="327"><figcaption></figcaption></figure>

## Default Responses

Responses for file detections are configured per detection. Response options include:

<details>

<summary>Add Labels</summary>

Automatically add or remove labels from files that match this detection like "Sensitive," "Internal," etc.

The labels themselves are managed in your Google Admin console. In Material, choose from your existing labels.

</details>

<details>

<summary>Send email</summary>

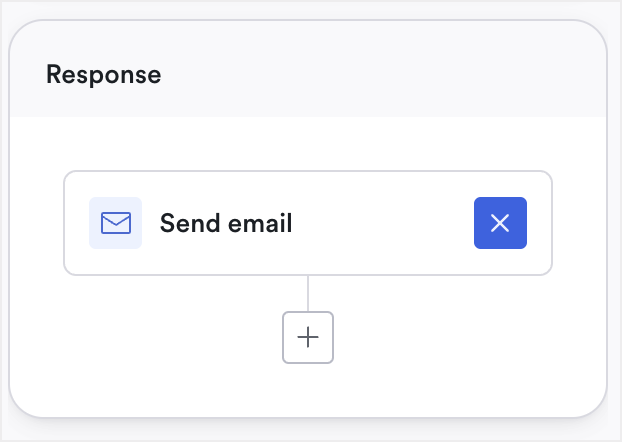
When a file detection creates an issue, you can send an email informing the recipient of the issue and asking them to fix it if needed. Using variables, the default message informs the recipient that a specific file name has an issue, and references the detection name so they know what the issue is. It also includes a link to the file so the recipient can fix the issue.

You can customize these emails as needed, and even send multiple emails in response to one issue separated by a period of time.

</details>

<details>

<summary>Time delay</summary>

You can include a time delay before adding another action.

For example, sometimes sending an initial email then giving the recipient time to rectify the issue is the best path. Add a time delay between the initial email and another action:

<figure><img src="/files/XuywxVVyyBibU5JZfN0y" alt="" width="304"><figcaption></figcaption></figure>

</details>

<details>

<summary>Update Permissions</summary>

Automatically update permissions on files that match this Detection. Remediation will only affect the matched files and won't update permissions inherited from a parent folder or Drive.

<figure><img src="/files/mnDeH1K1m1OzOy03tjKP" alt="" width="190"><figcaption><p>Permissions in Google Docs</p></figcaption></figure>

Options include:

* **Revoke Permissions**
  * Update general access permissions to revoke, viewer, commenter or editor
  * Update permissions for accounts with direct access (customize to internal and external access)
* **Add Permissions**
  * Select specific Google groups or accounts to assign permissions for this file to

</details>

### Configure Default Response

1. From the left navigation, click **Detections**.
2. Click **Filters,** then select **Entity Type** then **Files**.
3. Browse the existing File Detections.
4. Open the detection then set the default response as needed:

<figure><img src="/files/TZeLJP61rzp7v3ewC5wA" alt="detection default response located in detection detail view" width="311"><figcaption></figcaption></figure>

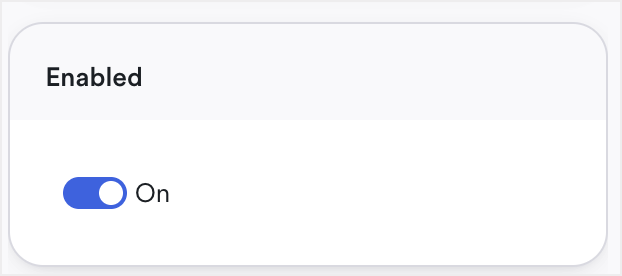
5. Detections are enabled at out of the box; as soon as you set your default response it is enabled. From this detection detail screen, you can also disable the Detection. **At deployment, we recommend you leave them enabled and let them run before revising:**

<figure><img src="/files/RReHsnNOilFbHwmk7nza" alt="detection enabled toggle on in detection detail view" width="311"><figcaption></figcaption></figure>

{% hint style="warning" %}
At this point, you've configured default responses but you have **not** enabled them completely yet. Follow the steps in [#enable-file-remediation](#enable-file-remediation "mention") below to ensure you deploy completely.
{% endhint %}

## Enable File Remediation

Now that you've configured your default responses, enable File Remediation so they will take affect.

### Enable Remediation Globally

1. As a super admin, log in to your Material instance.
2. From the toolbar, click **Settings** <img src="/files/TXJ0hnfNXPT5s4Bp16wG" alt="" data-size="line">.
3. From the left navigation, click **Default Account Settings**.
4. Toggle **File Remediation** to **On**.

   <figure><img src="/files/MZzADRqXAvk5hmp71lXp" alt="" width="343"><figcaption></figcaption></figure>

### Enable Remediation Per User or Group

Once you enable Email Threat Protection, it's enabled globally across all tenants. However, you can also disable it for specific groups and users while maintaining the global enablement.

1. As a super admin, log in to your Material instance. If you're already logged in, navigate to the **Workspace**.
2. Click **Explorer**
3. Choose **Accounts** to disable for specific users, or **Groups** to disable for a group of users.
4. Check the boxes for the accounts or groups you want to disable, then click **Edit Settings**.
5. Under **Remediations** toggle **Set custom File Remediation** to **On**.

   <figure><img src="/files/qxaRDxc1gLPmGpxKvzXa" alt="" width="364"><figcaption></figcaption></figure>

Inherit maintains the Global setting for File Remediation, described above.

{% hint style="success" %}
File Security is now enabled. Before moving on to configure **Account Security,** take a moment to learn about bulk remediation below:
{% endhint %}

## How to Bulk Remediate

Auto-response is best practice. If you need to revoke access manually for any reason, do this in the Explorer. Try this example to familiarize yourself with this process:

1. From the workspace left navigation, click **Explorer**, then **Files**.
2. The Explorer uses MQL, a querying language unique to Material. Use the query builder to search for files with issues. In this example, we built the query `shared.externally and location.is_my_drive` with the Explorer tools:

   <figure><img src="/files/VBSFx4aB7KWVOzVFCXu4" alt="search for files in the explorer located in the workspace"><figcaption><p>Search for files in the Explorer. Learn more about <a href="/pages/cZjOtE0EM03cIbeeO4BP">File Search here</a>.</p></figcaption></figure>
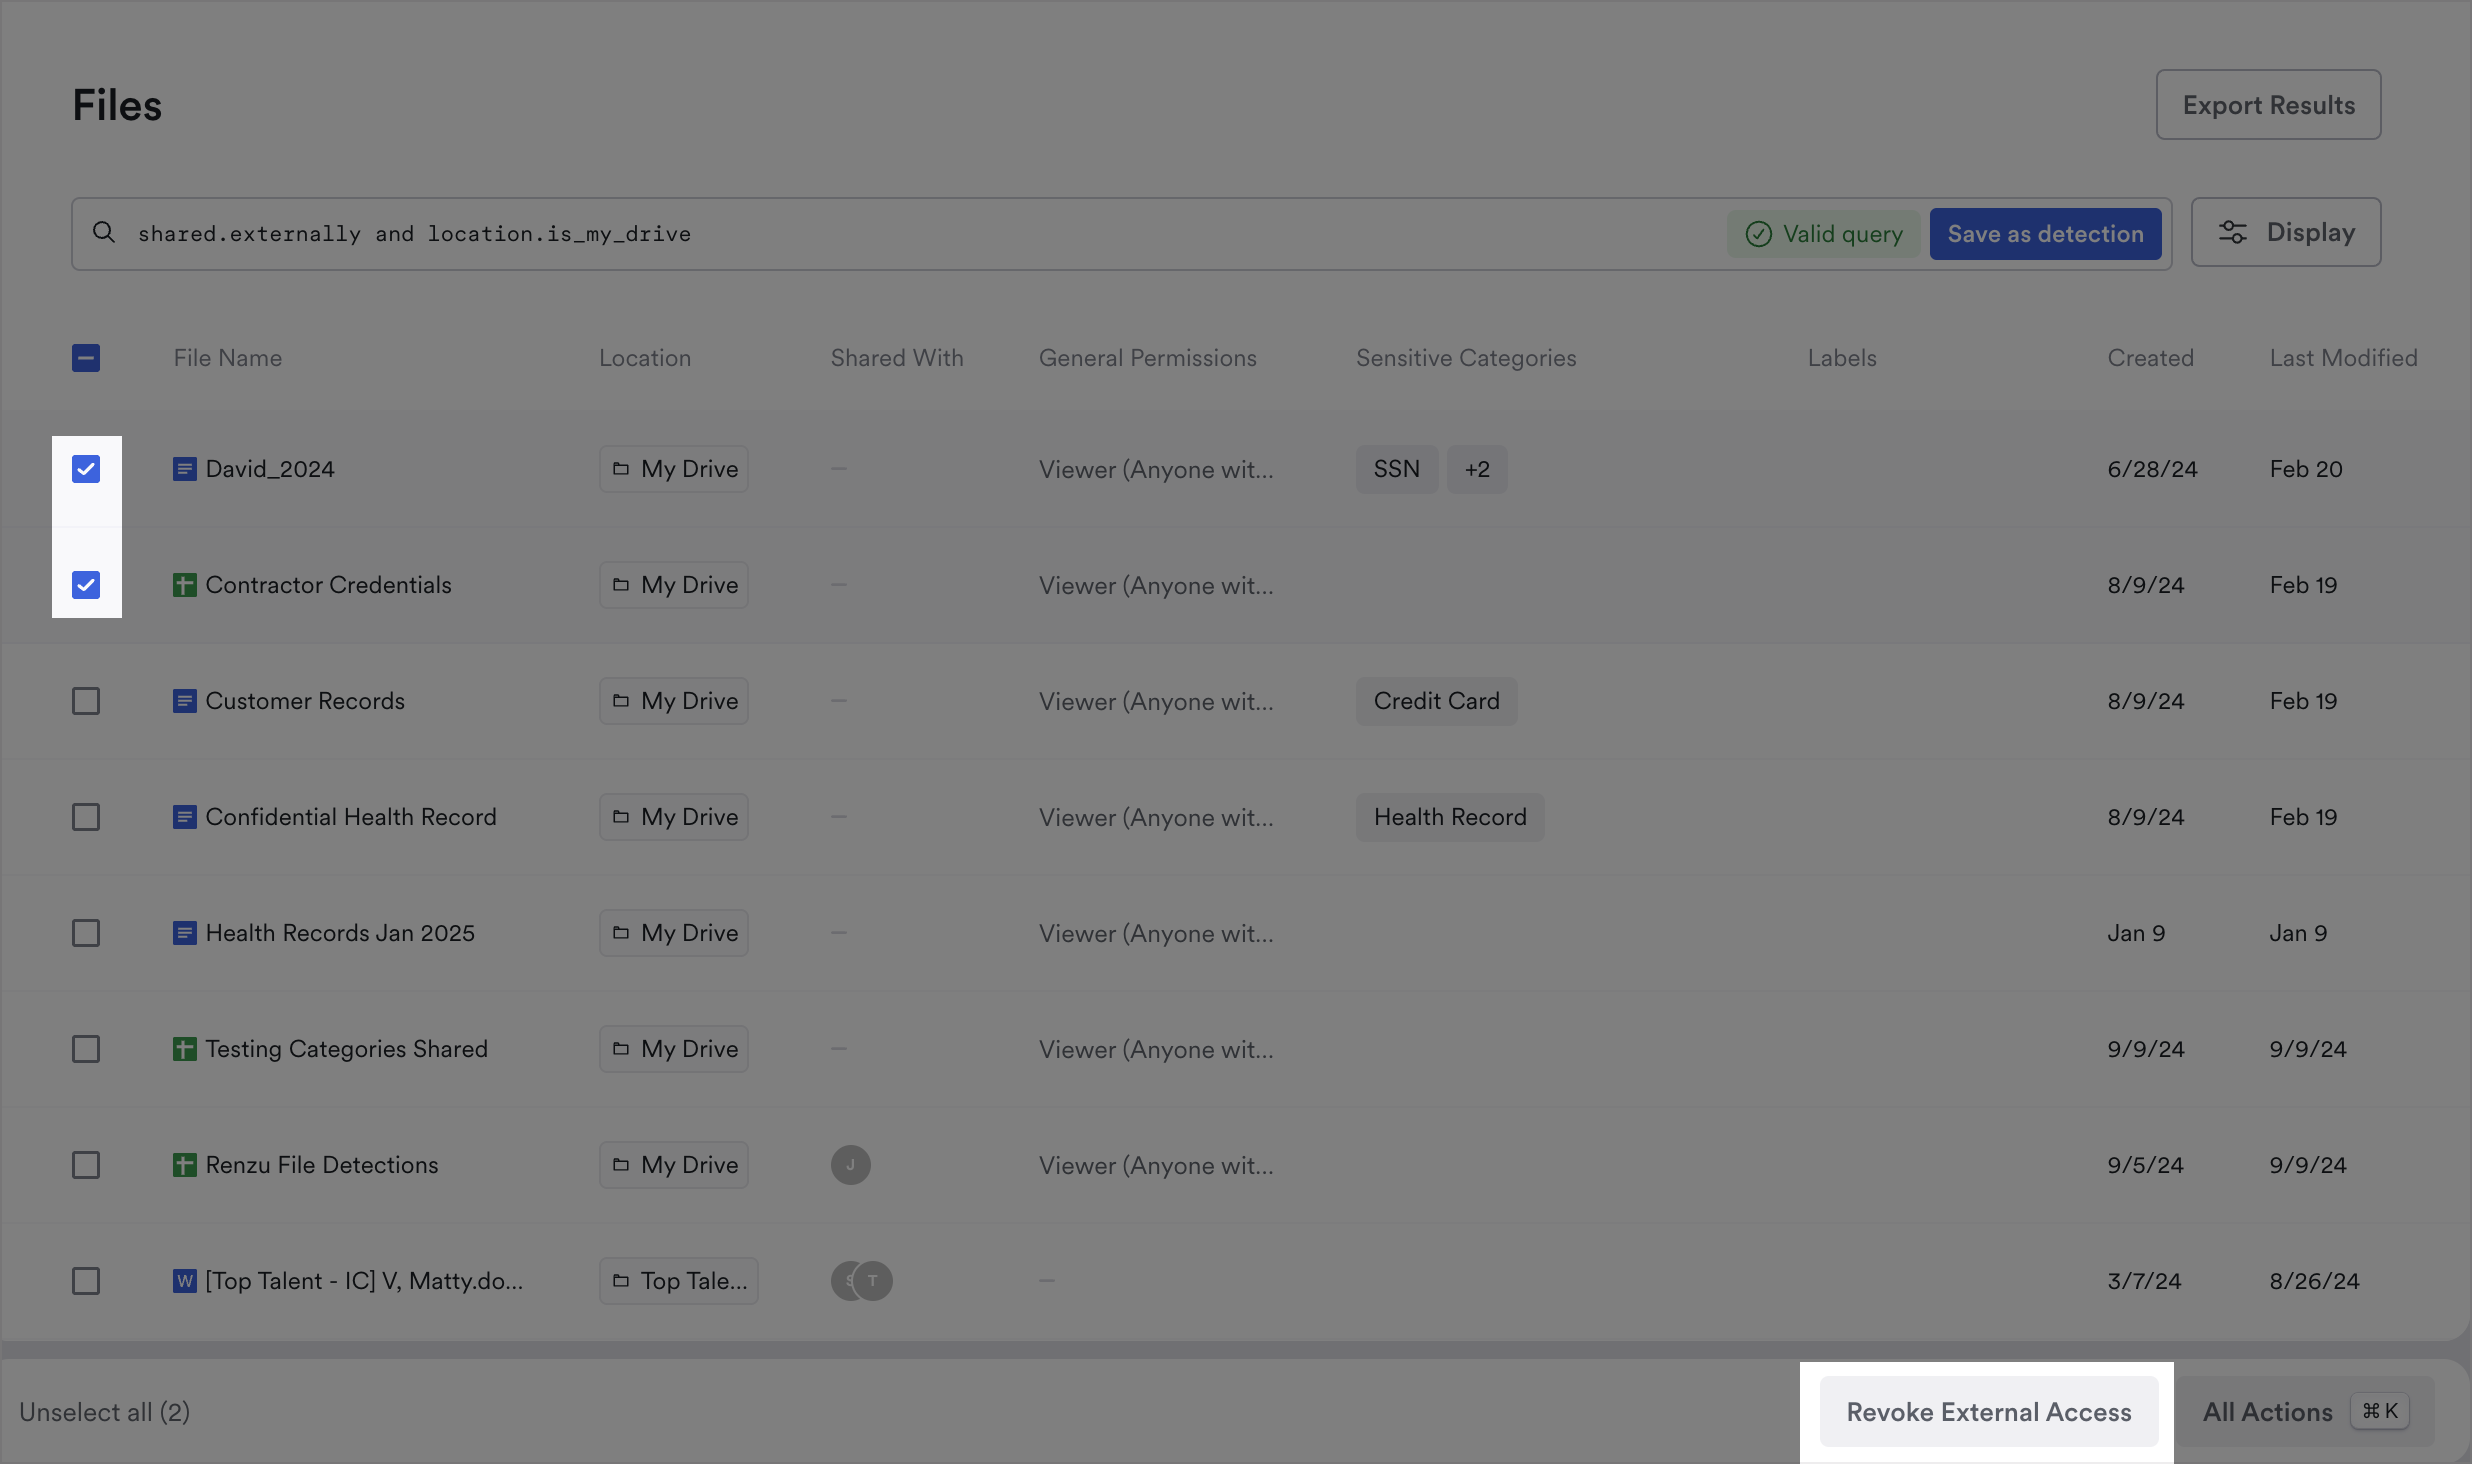
3. Check the boxes for any files you want to revoke access to immediately, then click **Revoke External Access:**

<figure><img src="/files/3CIwSMUKH5ngWcX1PnAX" alt="check boxes for files then click revoke external access at the bottom of the screen to revoke external access to multiple files"><figcaption><p>Revoke external access to multiple files</p></figcaption></figure>

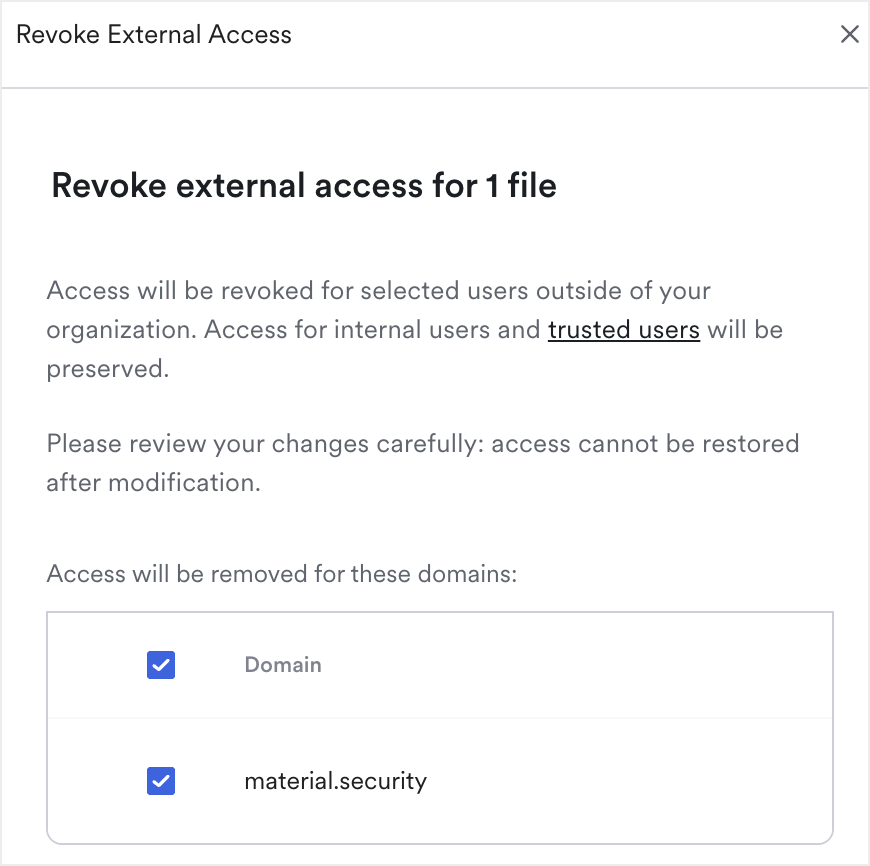
4. Select the domain(s) to revoke access to:

<figure><img src="/files/kQ6DhVtDrwRMmRc67UpG" alt="select the domain to revoke access to on this screen by checking the box next to the domain name" width="375"><figcaption><p>Revoke access to a specific domain</p></figcaption></figure>

5. Optionally, revoke **Set General Access to Restricted:**

<figure><img src="/files/7TcQDu7eux6cLiYfY8mX" alt="toggle used to set general access to restricted" width="375"><figcaption><p>Toggle on to Set General Access to Restricted</p></figcaption></figure>


---

# Agent Instructions
This documentation is published with GitBook. GitBook is the documentation platform designed so that both humans and AI agents can read, navigate, and reason over technical content effectively. Learn more at gitbook.com.

## Querying This Documentation
If you need additional information that is not directly available in this page, you can query the documentation dynamically by asking a question.

Perform an HTTP GET request on the current page URL with the `ask` query parameter, and the optional `goal` query parameter:

```
GET https://docs.material.security/getting-started/deployment-guides/your-first-30-days/7-enable-file-security.md?ask=<question>&goal=<endgoal>
```

`ask` is the immediate question: it should be specific, self-contained, and written in natural language.
`goal` is optional and describes the broader end goal you are ultimately trying to accomplish on behalf of the user. GitBook uses it to tailor the answer towards what is most useful for that goal.

The response will contain a direct answer to the question and relevant excerpts and sources from the documentation.

Use this mechanism when the answer is not explicitly present in the current page, you need clarification or additional context, or you want to retrieve related documentation sections.