> For the complete documentation index, see [llms.txt](https://docs.material.security/llms.txt). Markdown versions of documentation pages are available by appending `.md` to page URLs; this page is available as [Markdown](https://docs.material.security/getting-started/deployment-guides/your-first-30-days/6-enable-email-remediation.md).
# 6: Enable Email Remediation
**Material Email Security** is an out-of-the-box product ready to detect malicious messages and complement your email provider’s native protection on day one. These detections begin working immediately when you first connect to Material to identify suspicious emails and group them together in issues.
**However**, no action (response/remediation) is being taken on these issues just yet. To complete deployment, you need to:
{% stepper %}
{% step %}
[Configure remediation for **Material Detections**](/getting-started/deployment-guides/your-first-30-days/6-enable-email-remediation/configure-material-detections.md)
{% endstep %}
{% step %}
[Configure **User Reporting** ingestion and remediation](/getting-started/deployment-guides/your-first-30-days/6-enable-email-remediation/configure-user-reporting.md)
{% endstep %}
{% step %}
[Configure **Email Provider Alert** ingestion and remediation](/getting-started/deployment-guides/your-first-30-days/6-enable-email-remediation/configure-email-provider-alerts.md)
{% endstep %}
{% step %}
[Configure **Issue Triage** and remediation for manually classified issues](/getting-started/deployment-guides/your-first-30-days/6-enable-email-remediation/configure-issue-triage.md)
{% endstep %}
{% step %}
[Set up a notification](/getting-started/deployment-guides/your-first-30-days/6-enable-email-remediation/set-up-a-notification.md)
{% endstep %}
{% step %}
[Add a VIP](/getting-started/deployment-guides/your-first-30-days/6-enable-email-remediation/add-a-vip.md)
{% endstep %}
{% step %}
[**Enable remediation** for all accounts](/getting-started/deployment-guides/your-first-30-days/6-enable-email-remediation/enable-email-remediation.md)
{% endstep %}
{% endstepper %}
## Before you begin
Before we dive into all the flips and switches Email Threat Protection offers, let's briefly walk through Email Threat Protection's workflow to guide you on your customization choices and when they come into play.
{% @arcade/embed url="" flowId="GiRjhOefBo8GxEvLdGg2" %}
{% tabs %}
{% tab title="1. Detection" %}
Potential email threats are detected by:
| Detection Type | Description | Enabled by default |
| ------------------------- | -------------------------------------------------------------------------------------------------------------------------------------------- | ----------------------------------------------------------------------------------------------------------------------------------------------------------------------------------------------------------- |
| **Material Detections** | Material combines threat research and machine learning to detect BEC, VIP impersonation, and other attacks that bypass Microsoft and Google. |
Yes, cases are auto-classified as malicious
|
| **User Reporting** | Your users report malicious emails through your preferred methods, configured in **User Reports** > **Settings** | **No,** specify how you want [users to report in **User Reports** > **Settings**](/getting-started/deployment-guides/your-first-30-days/6-enable-email-remediation/configure-user-reporting.md) then enable |
| **Custom Detections** | You can create custom detections to look for specific criteria, if it's not already covered with other detection types | **No**, we recommend you wait some time after Email Threat Protection is enabled to begin using these |
| **Email Provider Alerts** | Your email provider will sometimes detect a malicious message after delivery and fire an alert instead of directly remediating the message | **Yes** |
{% hint style="info" %}
Even if a detection is enabled by default, the default response will not take effect until Email Threat Remediation is enabled for an account. We'll show you how to enable as the last step of these **Enable Email Security** guides.
{% endhint %}
{% endtab %}
{% tab title="2. Investigation" %}
In the **Email Threats** > **Issues** list, get a quick look at detection sources, scope, etc., and search all suspicious messages to narrow your view.
Dive deeper with the issue detail view to read Material's analysis and recommendations, and inspect the content and metadata of all messages in the issue.
#### Classifications
Classifications indicate whether the messages in the issues are considered:
* **Malicious**: emails identified as harmful, containing threats such as malware, phishing attempts, or links to fraudulent websites
* **Spam:** unsolicited, often irrelevant emails sent in bulk, typically for advertising purposes, which can clutter inboxes but aren't necessarily harmful
* **Safe**: emails deemed free of threats, containing no malicious content or links, and posing no risk to the recipient's security
Issues are auto-classified at creation, but you can also manually classify them after your investigation. More on that soon.
{% endtab %}
{% tab title="3. Response" %}
Once you've completed your investigation and classified the issue, you can keep any default responses[^1] already applied to that issue or you can [modify the behavior on an issue-by-issue basis](/working-with-issues/respond/respond-to-an-issue-manually.md) to ensure you're effectively addressing that specific threat.
{% endtab %}
{% tab title="4. User Education" %}
Finally, educate your users to increase awareness of threats and encourage safer online behaviors, which helps prevent future incidents. It fosters a culture of security, empowering employees to recognize and report suspicious activities effectively.
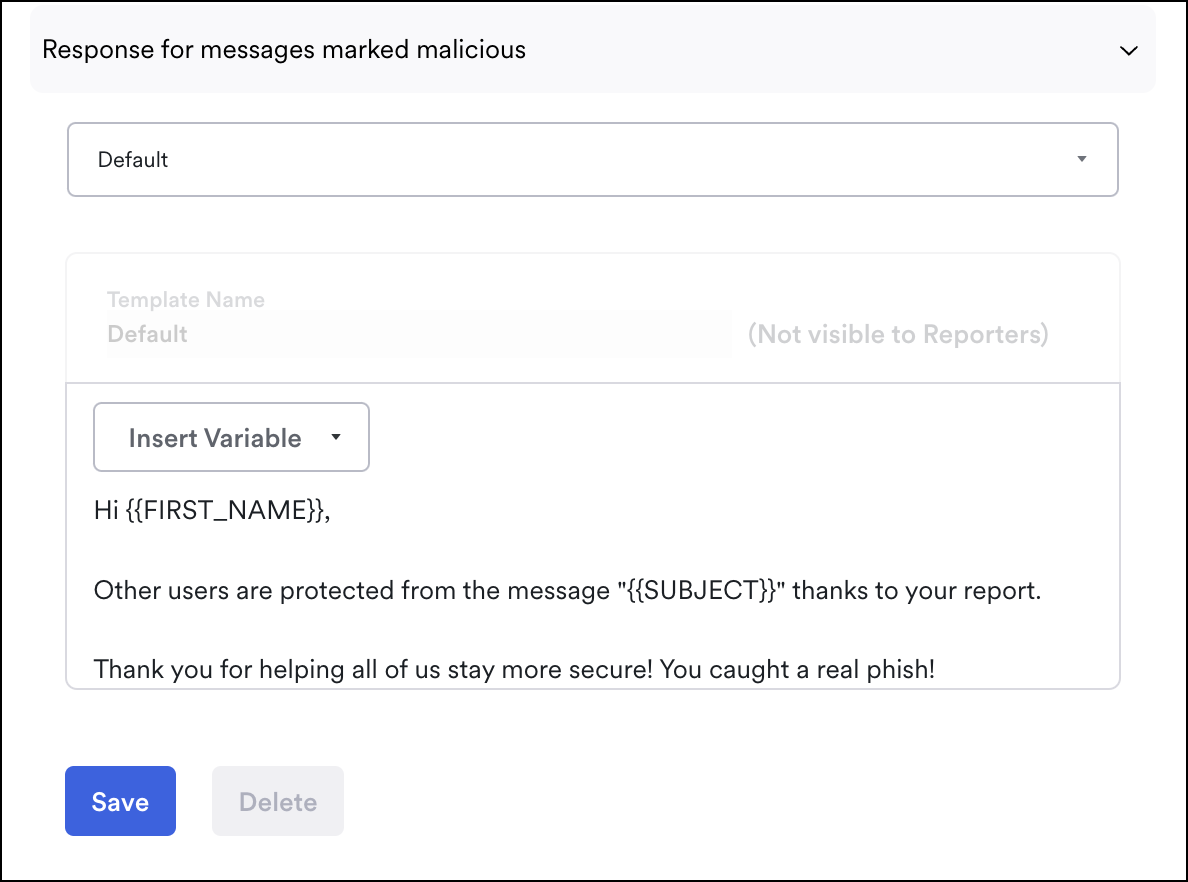
In Email Threat Protection, you can educate by responding to [user reports (reporter acknowledgements)](/getting-started/deployment-guides/your-first-30-days/6-enable-email-remediation/configure-user-reporting.md) and creating [simulations](/email-protections/simulations.md).
{% endtab %}
{% endtabs %}
[^1]: **Responses** are the immediate actions (remediations) taken on entities to limit impact. Some response types are email notifications, permission updates, revoking user sessions etc.
You can configure default responses based on the classification type or manually add responses in issues as needed.
---
# Agent Instructions
This documentation is published with GitBook. GitBook is the documentation platform designed so that both humans and AI agents can read, navigate, and reason over technical content effectively. Learn more at gitbook.com.
## Querying This Documentation
If you need additional information that is not directly available in this page, you can query the documentation by asking a question.
Perform an HTTP GET request on the following URL with the `ask` and `goal` query parameters:
```
GET https://docs.material.security/getting-started/deployment-guides/your-first-30-days/6-enable-email-remediation.md?ask=&goal=
```
`ask` is the immediate question: it should be specific, self-contained, and written in natural language.
`goal` is what the user is ultimately trying to achieve, the reason they need the answer. Sharing it helps GitBook give you a better, more relevant answer. A goal is most helpful when it describes the outcome the user wants rather than restating the question. For example, with `ask=how do I create an API token`, a goal like `automate deployments from our CI pipeline` lets GitBook tailor the answer to that use case.
The response will contain a direct answer to the question and relevant excerpts and sources from the documentation.
Use this mechanism when the answer is not explicitly present in the current page, you need clarification or additional context, or you want to retrieve related documentation sections.