> For the complete documentation index, see [llms.txt](https://docs.material.security/llms.txt). Markdown versions of documentation pages are available by appending `.md` to page URLs; this page is available as [Markdown](https://docs.material.security/email-protections/user-reports/user-reporting-methods.md).
# User Reporting Methods
One of the most valuable ways to detect and remediate phishing emails is to have your employees report suspected messages for you to evaluate. Material places messages similar to each other in an issue, but how you respond to a user reported message is important. It gives you opportunity to reinforce this action, educate your users in addition to remediating in bulk rather than having to go one by one.
In addition to response defaults, specify your remediation defaults to automate your strategy.
### Issue grouping across detection sources
Material deduplicates across all detection sources. If one of your users reports a message that Material has already flagged, or if Material later detects a message your users already reported, a single issue is created, not two separate issues.
The issue is filed under whichever detection source triggered first. Your users who reported the message still receive any configured reporter acknowledgments, regardless of which source created the issue.
{% hint style="success" %}
We generally recommend enabling and configuring all methods of accepting user reports, using the steps below.
{% endhint %}
### Navigate to User Reports settings
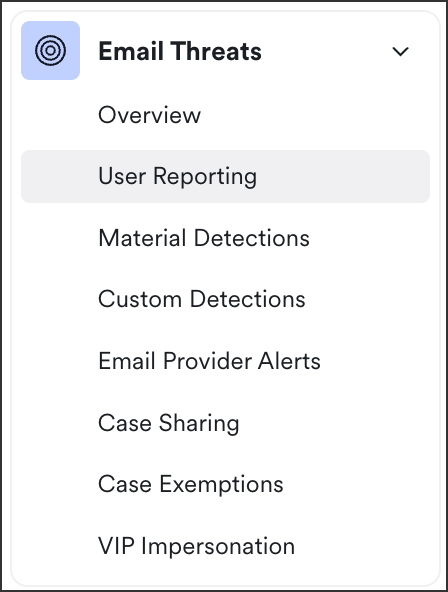
To begin, from the left navigation expand **User Reports**, then click **Settings**. The reporting methods are under **Reporting Methods**.
User Reports > Settings
***
## Forwarding
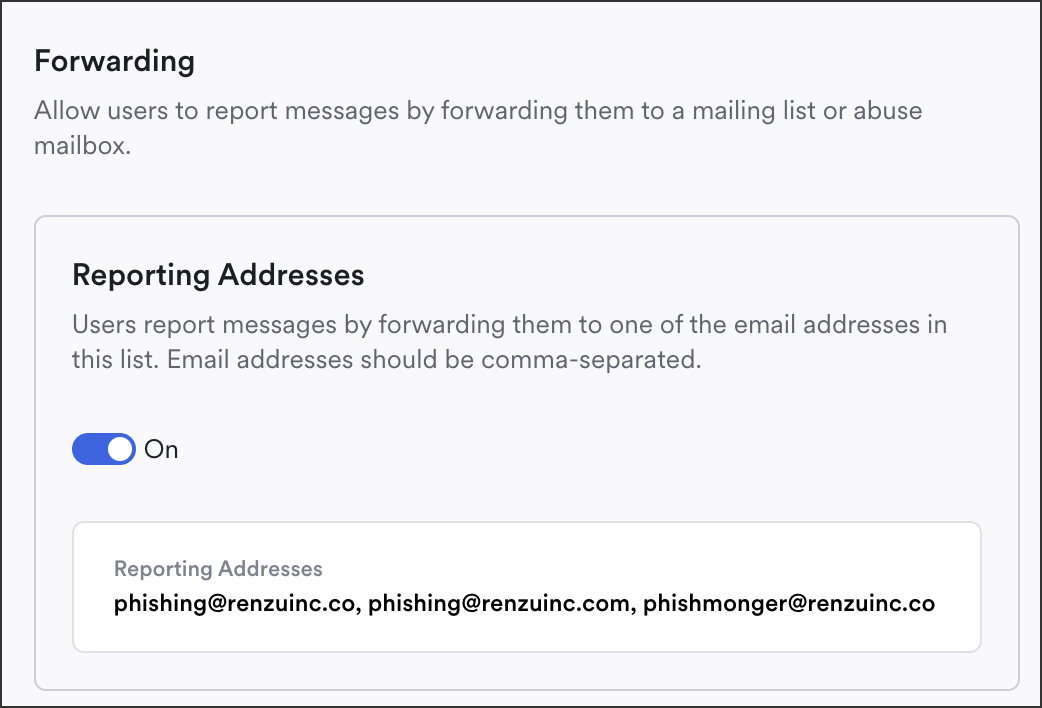
To streamline processing and support user awareness and training, you can include a specific email to forward user reported messages to. This is called a **Reporting Address**.
1. Toggle the option **on** to enable forwarding, then enter any email addresses in the **Reporting Addresses** field. Separate multiple addresses with commas, for example `email1, email2`
2. Click **Save**.
3. If you're leveraging the Outlook "report phishing" button, also update your Microsoft Settings with the [details described here](#outlook).
Include a Forwarding Address
{% hint style="success" %}
Include however many dedicated existing email addresses you have today for reporting phishing, however **don't include multipurpose mailboxes** here (e.g. where users contact your security team about issues that aren't phishing related).
{% endhint %}
### Intermediary Address
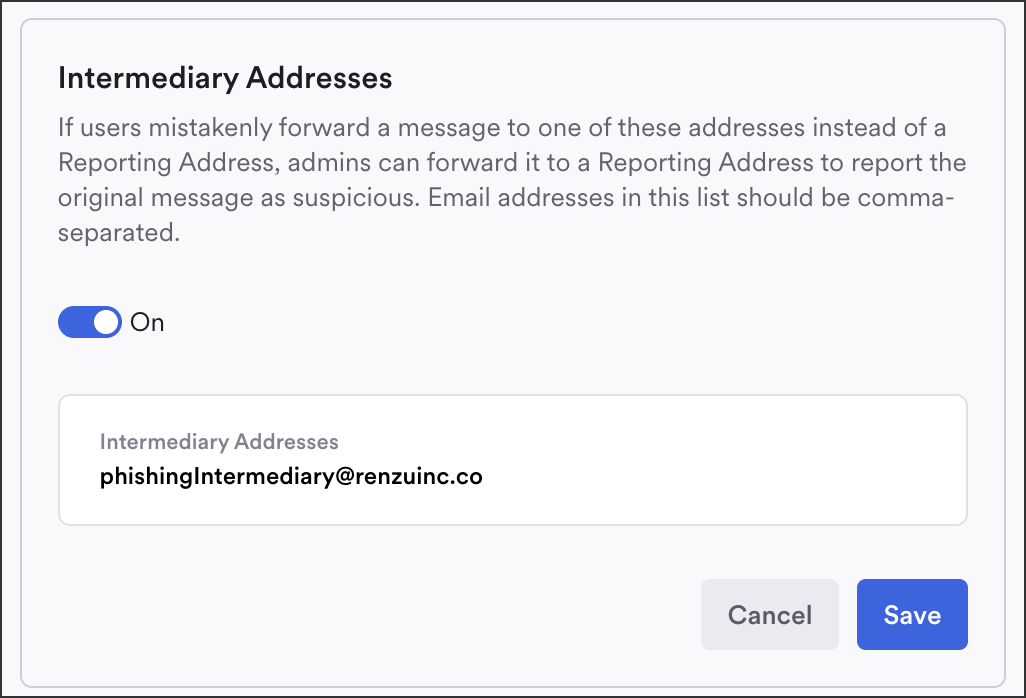
Sometimes reporting users forward emails to the wrong email by mistake. Include an **intermediary address** to ensure these emails get to the correct address.
{% hint style="success" %}
Intermediary addresses are only useful when there's an address (or set of addresses) where forwarded phishing reports are misdirected (e.g. if you have a phishing@ and security@ aliases and people accidentally send the reports to security@). Setting up an intermediary address ensures that Material doesn't treat security@ as the account reporting the message.
{% endhint %}
To use intermediary addresses, toggle the option on, then separate with commas same as reporting addresses above.
Intermediary Address
## Label
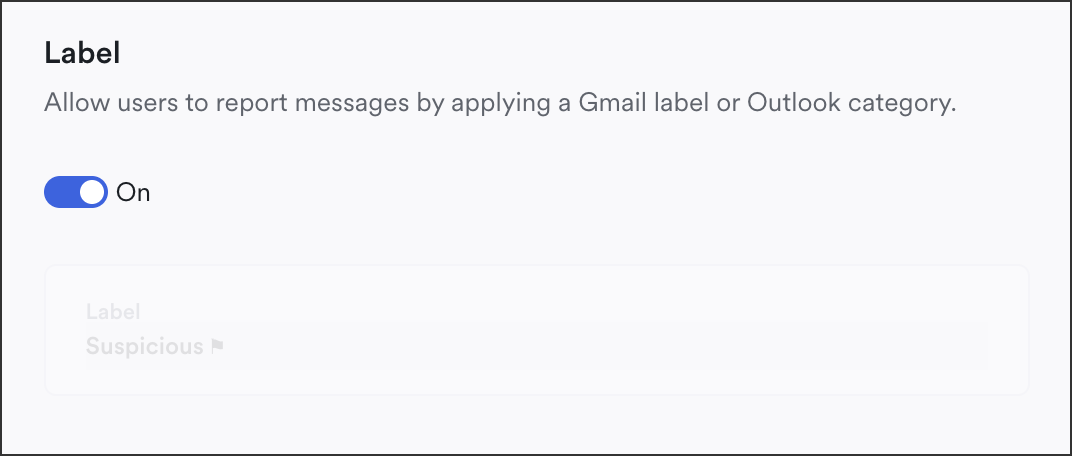
Make it even simpler for your users to report a suspicious message by allowing them to apply a Gmail label or Outlook category.
Toggle the Label option to **On**.
User Reports > Settings
* Note, the label name is `Suspicious`, and that is not changeable.
* If a user applies the label and also forwards the email, only one issue is created or similar message added; we deduplicate repeated reports about the same message.
## Email Provider UI (User Interface)
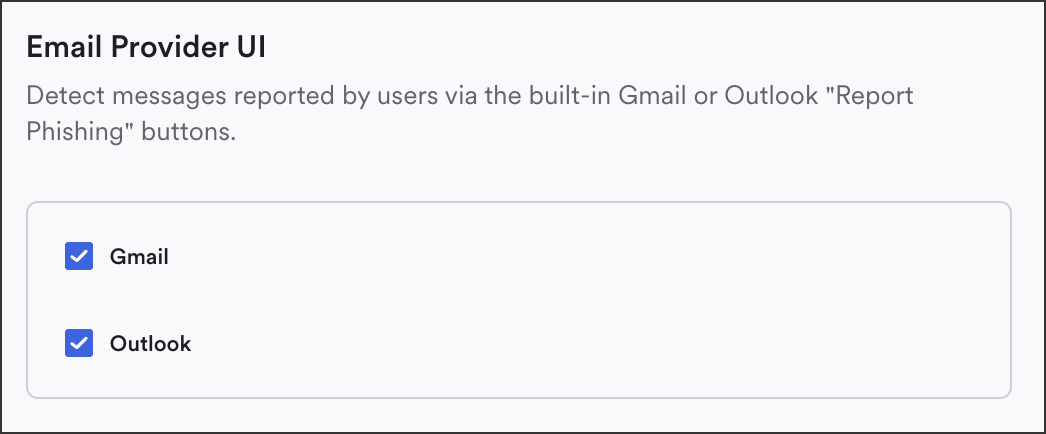
Email Service Providers (ESPs) often have a built-in mechanism for reporting email threats, usually a button. You can leverage this function to detect messages in Material as well. Check the box next to your ESP(s) to enable.
To learn more about Gmail phishing reporting functionality, review [Google's Workspace Admin guides](https://support.google.com/a/answer/7490898?hl=en).
User Reports > Settings
Even if Email Threat Protection is disabled for a specific user or group, we still ingest any email they report using the methods above.
### Outlook
To avoid issue creation delay when users click the "report phishing button" in Outlook:
1. Set up a [Reporting Address](#forwarding).
2. Once you have the Reporting address designated, as a Microsoft admin navigate to and update the settings to send to that reporting mailbox in addition to Microsoft:
To learn more about Outlook phishing reporting, review [Outlook's guides.](https://learn.microsoft.com/en-us/defender-office-365/submissions-users-report-message-add-in-configure)
***
## Identify who reported the message
1. From the left navigation, expand **User Reports**, then click **Issues**.
2. Open an issue.
3. The **Detected By** field displays the user who reported the message. Scroll down to the bottom and hover over their name to view the report method. Click the user name to view more details about their account and related issues.
View User Reports
You can also search messages by user in the [Explorer](/email-protections/email-threats/issues/email-threat-issue-search.md).
{% hint style="success" %}
**Currently deploying?**
Click here to return to the [Enable Email Threat Protection](/getting-started/deployment-guides/your-first-30-days/6-enable-email-remediation/configure-user-reporting.md#user-reporting) guide.
{% endhint %}
---
# Agent Instructions
This documentation is published with GitBook. GitBook is the documentation platform designed so that both humans and AI agents can read, navigate, and reason over technical content effectively. Learn more at gitbook.com.
## Querying This Documentation
If you need additional information that is not directly available in this page, you can query the documentation by asking a question.
Perform an HTTP GET request on the following URL with the `ask` and `goal` query parameters:
```
GET https://docs.material.security/email-protections/user-reports/user-reporting-methods.md?ask=&goal=
```
`ask` is the immediate question: it should be specific, self-contained, and written in natural language.
`goal` is what the user is ultimately trying to achieve, the reason they need the answer. Sharing it helps GitBook give you a better, more relevant answer. A goal is most helpful when it describes the outcome the user wants rather than restating the question. For example, with `ask=how do I create an API token`, a goal like `automate deployments from our CI pipeline` lets GitBook tailor the answer to that use case.
The response will contain a direct answer to the question and relevant excerpts and sources from the documentation.
Use this mechanism when the answer is not explicitly present in the current page, you need clarification or additional context, or you want to retrieve related documentation sections.

.gif)